NDA Student Guest Blogger Series: We are always interested to hear what our students go on to do after they graduate. To launch our new guest blog series, we will be handing over to National Design Academy graduate, Anita Brown who will be sharing her Top 5 Tips when creating a realistic interior render.
We want to hear from all of you
Each guest blog will feature an NDA graduate or a current student, sharing their interior design related tips and advice on a guest topic or to discuss their experience studying interior design with the National Design Academy. Whether it’s finding out the best tips on rendering, understanding more about how our courses are delivered online, or you’d like to learn how our graduates went on to start their own interior design business, submit your questions.
This is a great opportunity for our current students or for all those interested in studying interior design to submit the questions or topics you want our guest blog series to include. You can either post your questions on our Facebook page wall or tweet your questions on Twitter using the hashtag #NDABLOGGER.
Introducing our first guest blogger: NDA graduate, Anita Brown.
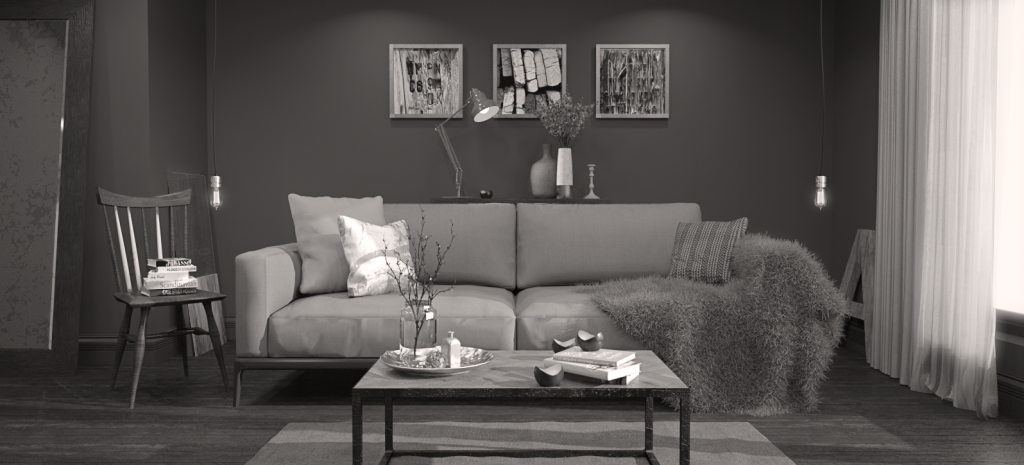
Anita Brown is the founder and director of her business, Anita Brown 3D Visualisation. She is a Maxwell Render Certified Xpert Trainer whose photo-real interior renders have been showcased at Grand Designs Live. And have also been featured in a range of print publications including Image Interiors & Living Magazine and 3D World Mag.
Enrolling on our Interior Design Diploma, Anita initially wanted to pursue her interest and passion for Interior Design. But it was during her diploma that she discovered her keen interest in 3D modelling and photo-real rendering.
After completing her Diploma in Professional Interior Design, she immediately signed up for the BA (Hons) Interior Design Degree and balanced a full time job, studying and launched her 3D visualisation freelance career.
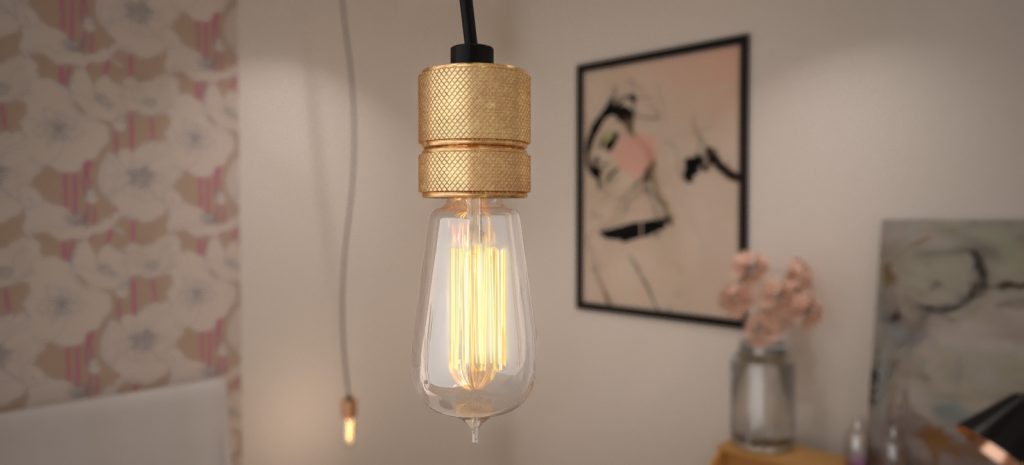
Fast forward a few years, and her expertise and knowledge of 3D visualisation is now highly recognised by industry experts such as Sketchup and Maxwell Render. Anita’s vintage Edison bulb photo-real 3D visual has been used as a cover image across Maxwell Render’s social media channels, and earlier this year she was awarded their sought after accolade of ‘Maxwell Render Certified Xpert Trainer.’
In August this year, Anita has made her biggest career decision to date, to leave her office job of 17 years and launch her 3D visualisation business full time. Congratulations Anita, over to you!
Anita’s Top 5 Tips: How to Create a Realistic Interior Render
A huge thank you to the National Design Academy for giving me the opportunity to write my first guest blog! To briefly introduce myself, my name is Anita and I provide a 3D Visualisation service, where I create photo-real interiors primarily for the Interior Design and Event Design industries.
To help those who are interested in taking their rendering skills up a notch, I thought it would be useful to share my top 5 tips when trying to create a highly realistic interior render.
1. Scale
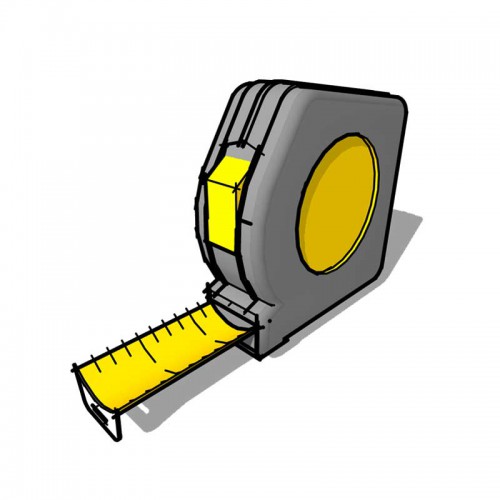
I use SketchUp when constructing my 3D models and I continually use this little guy when building any interior. If you’re importing models from the 3D Warehouse (a sofa for example), it’s imperative that you use the tape measure tool to check its dimensions and edit its scale if necessary.
It’s glaringly obvious when a piece of furniture is out of proportion in a 3D render, whether it’s too small or too large and this will invariably make the final rendered image look unrealistic.
2. Study Your Subject
If you’re constructing a specific light fitting or piece of furniture in your 3D model, undertake the necessary research of reference images and study the various textures of this item, including its reflections, refractions (if appropriate) and materials.
Including the finer details, no matter how small is one of the most important factors when aiming for a high standard of realism.
3. Lighting
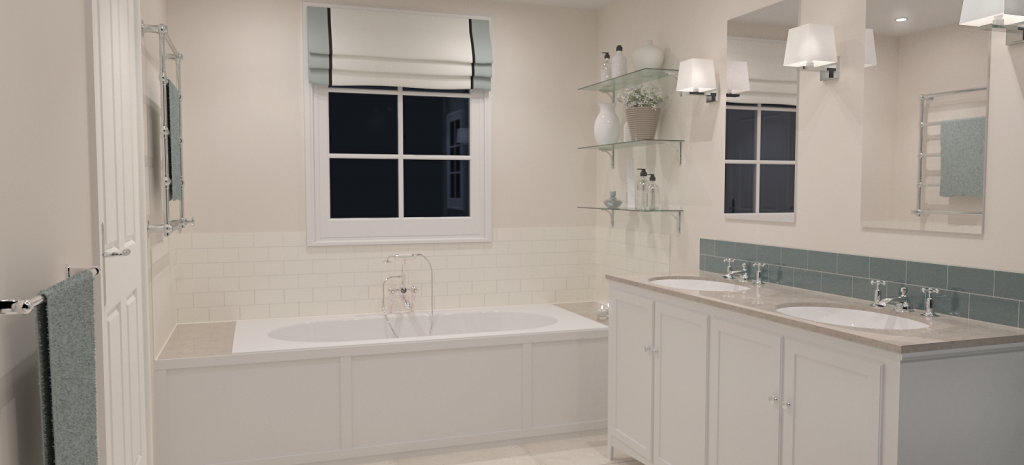
Natural environment lighting and emitters (artificial lighting) contribute hugely to the realism of a photo-real image. All forms of lighting create shadows, pockets of illumination and can highlight reflections of glossy surfaces.
But most importantly, lighting adds depth and can provide amazing atmospheric qualities to a photo-real render, thereby increasing the overall realism of the image.
4. Textures
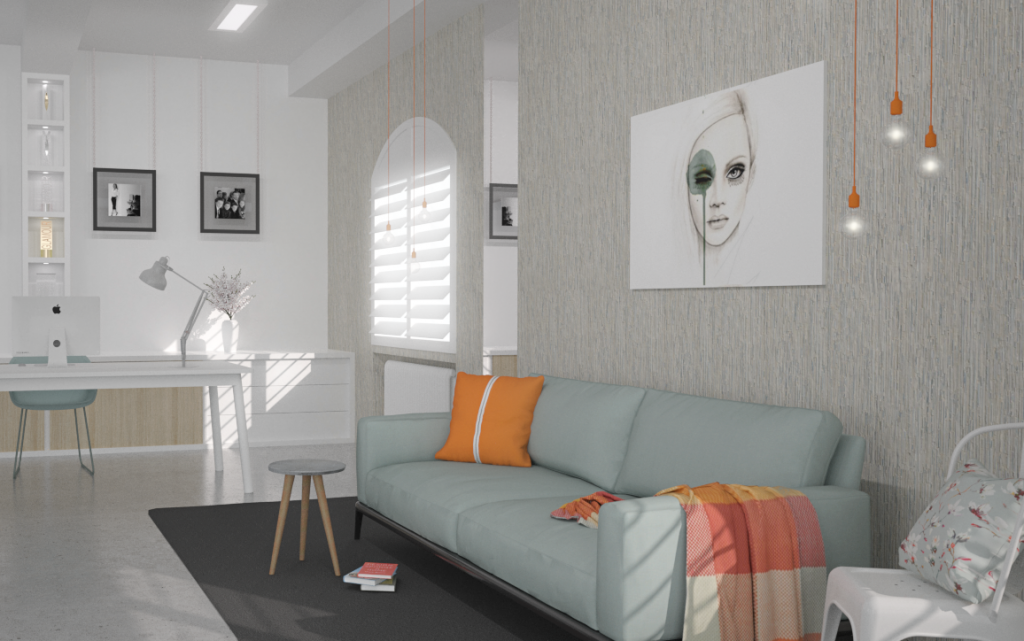
One of the most important elements of creating a high degree of realism in a 3D render is the incorporation of good quality textures. High resolution, seamless textures are a must! Ensure the direction and scaling is accurate and avoid using textures that have obvious/frequent pattern repeats (for example wood grain).
Take the time to search online for the right texture (there are loads of free online resources) and your final rendered image will thank you for it!
5. Scene Set Up
When setting up your scene for the final photo-real render, consider the field of view (how wide the camera angle is.) If it’s too wide the interior scene may appear distorted, which will distract from the overall image.
Carefully consider the placement of the camera so that the final render will be as visually captivating as possible and don’t forget to crop the final image if necessary, to help draw attention.
I hope these tips have been useful, and you have enjoyed my guest blog for the National Design Academy. Don’t forget to check out my website, www.anitabrowndesignstudio.com for more useful 3D Visualisation tips and design inspiration or ask any questions about 3D visualisation and rendering in the comments section below!
Join us next time as we continue our guest blogger series with past and present National Design Academy students. You can submit your questions and topics you want our guest blog series to include by posting your questions on our Facebook page wall or tweet your questions on Twitter using the hashtag #NDABLOGGER.


31 responses
Good article. What software are you using after you done at sketchup, or is all done with it? You achived very bright and soft walls .
Hi Katrina,
I’m glad you found my blog post useful. I construct the 3D model (and apply textures and emitters) using SketchUp. The SketchUp scene is then exported to Maxwell Render to achieve a photo-real image.
Hope this helps.
Anita
It is truly a great and helpful piece of information. I am satisfied that you simply shared this useful information with us. Please stay us informed like this. Thanks for sharing.!!
We glad you found Anita’s top rendering tips helpful Nikki, like us on Facebook and Twitter pages for regular blog updates!
I Know Autocad and would like to know more about photo rendering
Thank you
Hi Gloria, AutoCAD is used primarily for the creation of technical drawings. If you’re interested in creating photo-real renders then you need to learn how to construct a 3D model and also learn how to use a rendering engine to make the image look real.
There are many types of 3D software available. My preference is SketchUp for 3D modeling and Maxwell Render for photo-real rendering. You can get quick access to many websites that offer further information on the most commonly used by conducting a Google search. I always recommend downloading a free trial and playing around with different 3D software packages before making a decision on which one to use. There are many online resources and YouTube tutorials available for beginners.
Hope this helps,
Anita
Hi Anita,
Wonderful article, Wht all the softwares do you use for 3 d, Wht we have experienced is saving rendered scene takes a lot of time, pls advise
Hi,
I use SketchUp, Maxwell Render and Photoshop. The rendering engines that provide a high standard of realism can vary greatly in how long it takes to render a scene. The total rendering time also depends on the size of the scene and the number of emitters, in addition to the number of textures, finishes used.
Unfortunately it can take quite a few hours to render one scene, however I tend to use a render farm if I’m under pressure to meet a deadline.
Thanks
Anita
Hi Anita
How can i make renders realistic using Arhicard
Hi there, unfortunately I’ve no knowledge of Archicad. I use SketchUp and Maxwell Render. I’m sure if you conduct a Google search, you’ll probably find online tutorials.
Anita
HI there Anita – I am an avid user of FormZ (over 20 years!) and I continue to learn, it always allows me to see what I harebrained idea I have and how to sell it to a client or make sure I am doing what i think I am designing. Loved all your tips, took me back to ground zero. I use 3d in most of my projects, but it is always a learning curve when you don’t use it all the time. I will check out more of your tips and thanks again
Barbara Lolli
Hi Barbara, thank you for your positive feedback, I’m so glad you found my blog useful.
Anita
Hey,.. wonderful article. great info. Interior walls are really looks smooth. and realistic.
Thanx. You can see my work on:
Hi Anita,
Great first blog, and this article has reminded me to take another look at SketchUp. Thanks and wish me luck! 🙂
James
Hi James,
Thank you, I’m glad you found it useful. I sent you an email in reply to your enquiry on my website. Hope you received it ok.
Anita
Hi,
Nice blog of Interior designs.
Thank you for post it.
By Avani
Indeed a great article. I enjoyed reading each and every line of your post. Very informative article which contains bunch of information.Thanks for wonderful sharing.
Beautiful beautiful beautiful… All of it. And thank you for telling us that it doesn’t all turn out perfect. I though that was just me. I have just started my own blog after being amazed and inspired by people like you.
Nice write up, Anita. I have really enjoyed while reading your post. Thanks for sharing useful information with us. Similarly, i would like to share something that Budgetrenderings is US based company that offer best interior renderings all the time.
Thank you very much for publishing this kind of article. I like your article very much. I want to share my website details with you please give me some information to increase performance like as your website.
Have a look at corian, its a really great product
Thank you, this is very helpful, the material effect is apparent.but I think my 3DMax VRay is error and not in full version so I can’t apply dis tutorial, I just know after reading this tutorial.
Thank you for sharing this great post. In this post give good explanation in detail that helps people. It’s wonderful post.
Nice Blog, Anita. I like your article very much. Thanks for sharing useful information with us.
Hey! I have read all your Blog this is so nice and awesome service you have provided, I have learned so many new things from here and want to implement on my website.
It’s hard to finddifficult to findnearly impossible to findhard to come by knowledgeableeducatedwell-informedexperienced people on thisabout thisfor thisin this particular topicsubject, but youhowever, you sound likeseem like you know what you’re talking about! Thanks
https://www.pinterest.com/jenniferemrouillard/top-10-best-rolling-workbenches-in-2019/
This is a great inspiring article.I am pretty much pleased with your good work.You put really very helpful information..
Thanks for sharing your quality information in this article let me know which software you use for rendering and after that how could you make animation visual walkthrough.
Great work, this is not far from actual 3D modeling & rendering projects. Thanks for sharing this great effort.
Great article, I’m currently modeling landscapes, and I’m facing really high render times, I wanted to go a little off topic and ask, how do you do to keep your render times nice and low? I’ve heard there are some online render farms that a lot of people use and they say… at least the ones that I know of that use rebus they say it’s great for deadlines and it can save you a lot in not only time but costs as well, do you recommend to use rendering cloud services? 🙂
Hi Alexis, Billy from the NDA here, thanks for your comment…
Cloud rendering services can be great for outsourcing the rendering of your scene, although sometimes costly.
We would recommend using render farms for a number of reasons, a few of which being that it frees up your computer to work on other things while your scene is rendering but also these farms are often using the latest hardware to get your render completed in much faster speeds.
It’s definitely worth testing these farms before your deadlines! As the fine tuning will still be on your end. We’d recommend completing some test renders on your machine to get a gauge of the sample count, resolution and bounce settings for example, before sending it to a farm (if your device is slow, it’s worth running these overnight).
By doing these before-hand tests you can be sure the result from the farm is what you are looking for, but also you are able to lower your costs by only asking the render farm for what you need.